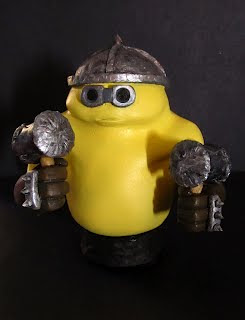
"Saxon" Maquette
Finished Saxon Maquette 


Original project sketch - With my maquettes, I do tend to do only a rough sketch since you can't really know what the limitations of the clay will be before you get there, so I do alot of my designing as I sculpt. If something doesn't feel right, I can change it.

Starting to assemble the ship.

The basic supplies I used, a small wooden disk with a 1/4 hole drilled, a 1/4 dowel for the mast, and chunks of 1/8 inch thick balsa wood cut and shaped to resemble wooden planks.

The props were made from the same balsa and dowels.

The built wire armature.

Flushing out the body with a heavy layer of sculpey.

The details of the ship are almost fully finished, and the Saxon body is nearly finished.

The sculpt is done at this point, next is a quick bake in the oven.

After the maquette is baked I seperate Saxon from the ship, temporarily placing him on a stand in mast that I assemble to make painting him and the ship easier.

Saxon's paint is quite simple, a base layer of black and a couple varying coats of brown to give the illusion of fur.

The ship painting was far more involved. First a coat of black over everything except the mast. Then varying layers of blue paint for the water along with a touch of white for the wave crest. Then varying browns to color the wood planks, mimicing an aged wood plank. The mast recieved a couple layers of light brown, scuffed a bit as to not look plasticky. I had prepainted a mouseguard "shadowmouse" pseudo logo onto the sail as a sort of jolly roger. The sail btw is uncoated cotton with a rigid wire frame sewn in to hold the shape as if it were being hit by a gust of wind.


Comments
Post a Comment